Blog
Stackable Rings: Build Your Own Signature Style

Stackable rings let you create a personal look that can grow with you. They are thin bands designed to be worn together on one finger or across several fingers. When done well, stacking adds texture, color, and meaning without hiding your main rings. Below I explain the metal choices, proportions, order, and practical care. I give clear, specific examples so you can build a signature set that lasts.
How stackable rings differ from single rings
Stackable rings are made to layer. That means thinner widths, lower profiles, and smoother edges. Typical stackable band widths range from 1.2 mm to 3.5 mm. A 1.5 mm plain band is subtle; a 3 mm hammered band reads bold when paired with others. Profiles matter: flat bands sit differently than domed bands. If you mix very different profiles you can get gaps or wobble.
Choosing metal and alloy
Metals affect look, strength, and maintenance. Pick based on use and the rings you already own.
- 14k gold (about 58.3% gold) is durable and good for everyday stacks. It tolerates thin shaping and prong work better than 18k if you need strength. Example: a 14k yellow gold 2 mm plain band for daily wear.
- 18k gold (about 75% gold) looks richer and warmer but is softer. Use it for accent rings or occasional wear. Example: 18k rose gold 1.8 mm milgrain band as a special accent.
- Platinum 950 (about 95% platinum) is heavy and very durable. It resists wear and keeps prongs strong. Use platinum for settings that hold diamonds you wear daily.
- Rose gold contains more copper, which gives the color but can darken over time. It’s strong and pairs well with warm-toned gemstones. Note: some people react to high copper content.
- Mixed metals—silver, palladium, and two-tone gold—work well if you control contrast and proportion. Use one dominant metal and a second as accent to avoid visual clutter.
Band width, profile, and comfort
Decide how many bands you want on a finger. That determines width choices.
- If you plan 3–4 bands on one finger, choose narrower bands: 1.2–2.0 mm. Narrow bands stack without feeling bulky.
- For 2-band stacks, 2.0–3.5 mm bands give presence while staying comfortable.
- Profile heights: aim for similar heights when you want a flush look. A domed profile of 1.0–1.5 mm seated against a flat 0.5 mm band will create a gap. If you want flush stacking, match profiles within about 0.2–0.5 mm.
- Comfort fit interiors reduce pinching when multiple rings are worn. If you have several bands, pick comfort-fit widths of 1.5 mm or more.
Gemstone choices and settings for stacks
Gemstones add sparkle, but shape and setting affect practicality.
- Bezel settings are low and secure. A 1.5 mm bezel-set diamond or sapphire sits flush and won’t snag other bands. Good for everyday stacks.
- Prong settings show more stone but can catch on neighboring rings unless recessed. If you love prongs, choose small stones (e.g., 0.05–0.10 ct each) or rings with prongs that tuck into a curved partner.
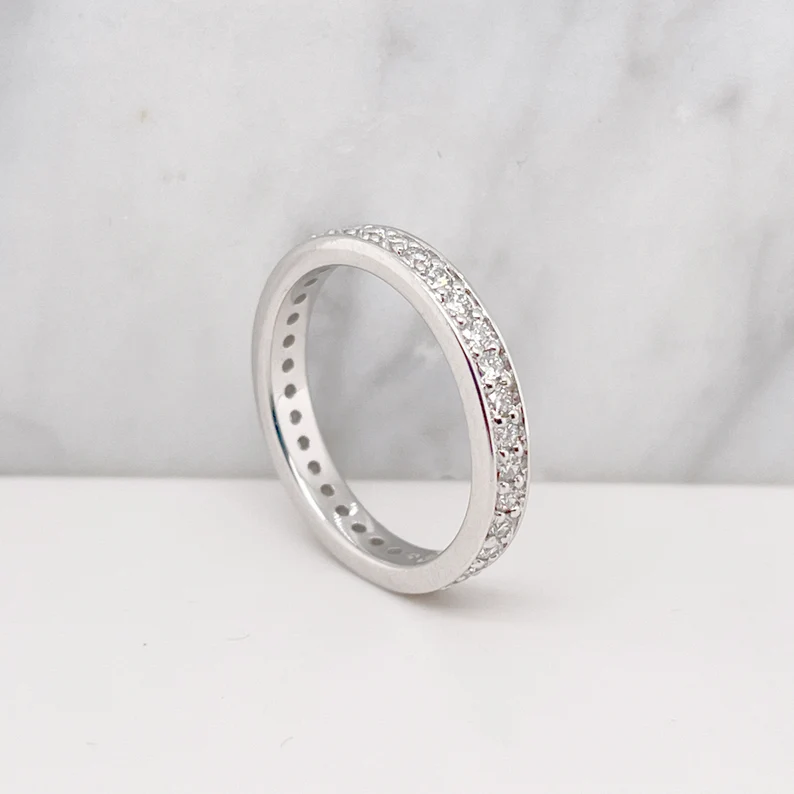
- Pavé and channel bands look great in repeat. Typical pavé stones in stackables are 1.2–1.5 mm each (approx 0.01–0.015 ct). They add sparkle without bulk.
- Use gemstone color strategically. A single colored stone (e.g., a 0.10 ct blue sapphire) anchors a neutral stack. Multiple colored stones can feel busy unless spaced by plain bands.
Order and composition: how to stack for balance
Think about order like composing a photo. You want a focal point, balance, and contrast.
- Place the most important ring nearest the center of the hand or next to the engagement ring. This makes it visible and protected.
- Use a plain band next to a ring with prongs to prevent snagging. Example: engagement ring → 2 mm plain gold band → 1.5 mm pavé band.
- Alternate textures. If you wear three bands, try plain–textured–stone. That gives the eye a place to rest and prevents visual noise.
- Scale matters. Pair a 6 mm solitaire with at least one 3–4 mm companion band to balance visual weight across the finger.
Practical choices: curved vs straight, soldering, and sizing
Curved bands sit flush with a shaped engagement ring. Straight bands sit flush only with straight shanks.
- If your engagement ring has a low center stone and a curved shank, buy a matching curved wedding band. Curves as small as a 0.8 mm radius can make a big difference in fit.
- Soldered stacks are fused into one solid ring. This prevents spinning and keeps alignment. Choose soldering if you plan to wear a set constantly. But soldering removes flexibility—you cannot later change the stack without cutting.
- Resizing: multiple thin bands are easier to resize individually than a fused stack. If you anticipate size changes, leave rings separate.
- Sizing rules: adding more rings can feel tight. If you wear three rings regularly on one finger, you may need to go up 1/4 to 1/2 size depending on finger shape and band widths.
Care and durability
Daily wear matters. Choose finishes and settings to match your lifestyle.
- Plain, polished bands show scratches easily on high-polish surfaces. Satin or hammered finishes hide wear better.
- Ultrasonic cleaners are safe for most solid gemstones and metals, but avoid for fragile stones like opal or pearls. Prong-set pavé may also loosen over time if cleaned roughly.
- Inspect prongs annually. Small pavé stones may require tightening. Platinum and 14k gold prongs are less likely to fail than 18k in thin work.
Three practical set examples
- Minimal weekday stack: 14k yellow gold 1.5 mm plain band + 1.2 mm bezel-set 0.05 ct diamond band. Low profile, works with gloves and keyboards.
- Everyday engagement complement: Platinum engagement ring (1.0 ct center) + 2 mm 14k white gold curved wedding band + 1.5 mm pavé band (18 small stones ~0.12 ct total). Balanced, secure, and bright.
- Mixed-metal statement: 3 mm hammered rose gold band + 2 mm black rhodium-finished gold band + 1.5 mm yellow gold milgrain band. Use the hammered piece as the anchor and lighter bands as highlights.
How to start building your signature stack
Start with one reliable piece: a plain 2 mm band in your dominant metal. Wear it daily for a month. See how it feels. Add a second band that contrasts—texture, metal, or stone. Keep proportions consistent: don’t stack a 6 mm heavy ring with three 1 mm wires unless you want an intentionally eclectic look. Over time, add pieces that have meaning: a birthstone, a travel ring, or a handcrafted texture. Each new ring should either contrast or complement the existing set.
Stackables are flexible and forgiving. Choose metals and widths with wear in mind. Match profiles for a clean stack, or mix profiles deliberately for dimension. Above all, build slowly and let your stack tell your story.